
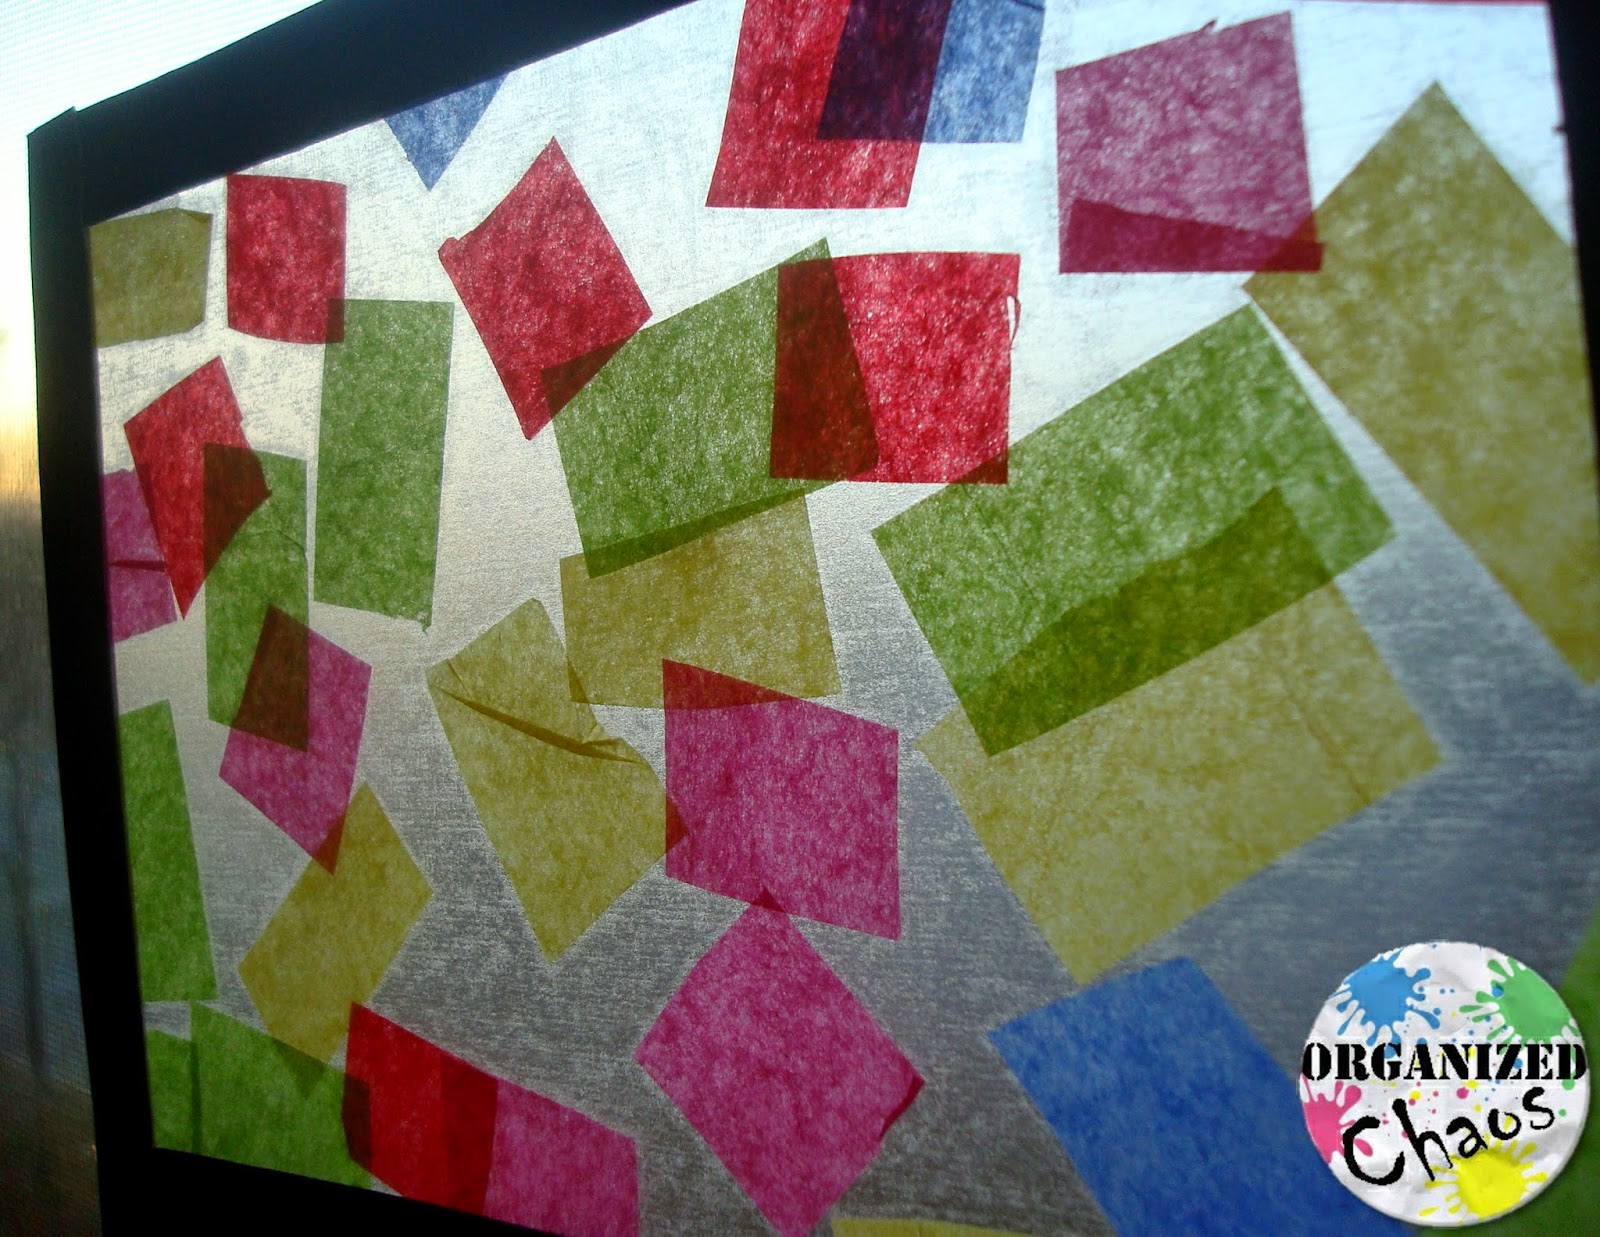
Doesn't it look so pretty with the light shining through? Here's how we made them:
Materials: clear contact paper, black duct tape, tissue paper, scissors, tape
First I cut out 2 matching rectangles for each child from the contact paper and taped down one of them on the table, sticky side up, for each one to decorate (save the other pieces for later).

I found an assorted set of tissue paper at the dollar store, so I cut a thin strip of each color and cut it into squares or rectangles (depending on how it came out- I folded the strip and cut on the folds).

Then the girls went to town! I explained to them that we wanted the light to be able to shine through so they shouldn't roll or fold the paper. For one of my girls I had to convince her that it was OK if some of the edges overlapped each other. Other than that it was pretty easy!

Once they had used all of their tissue paper, I took the matching piece of contact paper and put it on top to seal the tissue paper inside. Then I cut each piece into smaller shapes. I was thinking of cutting a circle to make it look like a Christmas ornament but the girls both decided they wanted one big rectangle and 2 smaller ones. Then I put some black duct tape around the edges to keep it from coming apart. Since I was doing squares I just cut a piece for each parallel side and cut it in half to make two thinner pieces.

I'm not sure this step is really necessary, especially if you're not planning to keep them for very long, but I like the way it looks with the black edges. I read other posts that said they had used black construction paper for the edges but that seemed like too many extra steps for me! Plus I already had the duct tape.

From there you have two options: attach a string or hook and hang it on the Christmas tree, or tape it to the window. I decided that this year we would put them on the window and maybe next year we will put some of the small ones on the tree. I think it would look really cool in front of the Christmas lights. For now though, we're enjoying having these on our windows:

I put a small piece of double-sided tape on the back and let the girls stick them wherever they wanted. Since they are rectangles we are calling them presents instead of ornaments. It also occurred to me that we could draw Christmas-y pictures on them with a black sharpie. Maybe next year...
No comments :
Post a Comment