Image Map
Showing posts with label Mommy. Show all posts

Sunday, November 30, 2025

24 Low-Effort Christmas Activities with Teens

One of our most treasured family traditions is our advent calendar. Since my daughters were 2, I've been putting together an advent calendar with a small holiday-related activity to do each day leading up to Christmas. I never thought it would become such an important part of our lives but now, with my girls about to turn 14, they start asking about the calendar several months in advance! Now that my daughters are teenagers our list of activities looks a little different than it did a decade ago- here's what I'm planning to do this year (and you can too with very little prep work).

Because I am all about low-maintenance, especially as a music teacher in December (if you know you know), most of the things are things that might normally be considered "chores", like decorating and sending cards, but now they are fun family activities! It's a great way to really focus on the small joys of the holiday. Here is a list of what we're doing this year:

1. Put up and decorate the tree

2. Make wish lists

3. Hang Christmas lights

4. Make lists of what to give

5. Make cookie dough and put it in the fridge

6. Bake and decorate cookies

7. Put up the rest of the Christmas decor around the house

8. Walk around a town with lots of lights

9. Shop for presents

10. Decorate the front door (we have a wreath, window clings, and flag)

11. Make Christmas cards (my girls love giving handmade cards)

12. Wear matching new Christmas socks

13. Make roasted nuts and peppermint bark

14. Strawberry matcha overnight oats for breakfast

15. Christmas song karaoke with their grandparents

16. Put together teacher gifts

17. Hot cocoa with breakfast (everyone adds their own favorite flavors/ toppings)

18. Hang the stockings

19. Wrap gifts

20. Family secret santa gift exchange

21. Make gingerbread houses

22. Christmas party with the girls' friends (cookies, Christmas movie, Christmas tree pizzas)

23. Play Christmas games (Christmas UNO: sing a Christmas song for every green card you play, eat a marshmallow for every red card, Christmas Categories, Moose Match Mayhem)

24. Put out cookies for Santa

This kind of Christmas countdown / advent activity calendar is so easy to set up because the activities are low-prep, low-mess, quick activities, most of which are things families celebrating Christmas would do anyway. If you want to do something similar this year but don't have time to make a calendar, all you really have to do is write down each activity on a piece of paper and fold it up with the number for the date you want to do it on the outside. Then open a paper each day to reveal that day's activity!

Here is how I made the calendar we use every year (so easy if you have the supplies)- click the image to see the tutorial:
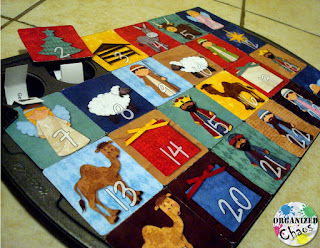
And you can see how my list of activities has evolved over the years as my daughters get older in these posts from previous years: my list for 11 year oldsfor 9 year oldsfor 7 year oldsfor 6 year oldsfor 5 year oldsfor 4 year olds, and for 3 year olds.

If you're looking for ways to add a little cheer without a lot of effort I hope these ideas will help! 

Tuesday, August 13, 2024

Getting In Shape for Back to School

Maybe it's because I'm getting older but... I've been thinking a lot more about taking care of myself physically this back to school season. In previous years I thought a lot about getting myself mentally/ emotionally prepared with lesson plans, organization systems at home, etc, but this year I'm trying to be more intentional about getting my body ready for going back to teaching- here's what I'm doing to get in school shape now that I'm a few weeks away from the first day of school.

1. Sing More

This is actually one thing I've done consciously for several years now but it's worth mentioning: I am intentional about singing more throughout the day as the school year approaches. I've found it helps so much with vocal stamina when I do this, and I lose my voice a lot less than I used to! Plus of course the side benefit is my improved mood from singing more :) I just turn on my favorite songs and sing along whenever I can!

2. Eat at Regular Times

One of my favorite things about summer vacation is snacking. Eating whenever I feel like it, and not having to shove food down my throat, is such a luxury! But I'm trying to get my stomach and my body used to only eating at meal times, and specifically at the meal times I have during the school year.

3. Sleep More

I tend to keep a pretty consistent sleep schedule even in the summer time so I don't have to start getting used to waking up earlier (but if you are one of those people who likes to sleep in late in the summer, I would switch my wakeup times a few weeks before to adjust), but sometimes in the summer I do stay up a little later watching a show, reading a book, or talking to a friend because I know I can sleep in- I'm trying to hold myself accountable to getting to bed like I have a full week of teaching ahead. Honestly it gives me more energy and puts me in a better mood so I can better enjoy these last few weeks of vacation anyway!

4. Exercise

This has been the most dramatic addition to my back to school preparation this year. I have never been good at motivating myself to exercise on purpose, especially during the school year, so the second half of this summer I've really tried to commit to doing at least 10-20 minutes of some type of exercise each day. What I'm realizing is that I'm going into the school year so much more in shape than I have in the past, and I really think (hope) that will help me with the exhaustion I normally feel at the beginning of the school year, even just from classroom setup!

I don't think anything on this list is revolutionary, but I hope it serves as a reminder for all of us to take care of ourselves this year! Let me know in the comments what you're doing to get yourself ready physically for the start of the school year.

Tuesday, June 25, 2024

Music Teacher Planner (January-June 2024)

Every 6 months or so I take out the planning pages I've already used, to keep my planner from getting too bulky, and add in new pages for the upcoming months. Before I cleared out the pages from the second half of the 23-24 school year to get my planner set up for summer, I had to go back and flip through all the pages I decorated and used over the past 6 months to show you what it really looks like when I am using my planner as a music teacher, mom, and business owner on a day-to-day basis.


Whether you're looking for inspiration for decorating your planner as someone who still needs a lot of space to actually write down information, or you want to see how I actually use my planner in my day to day and how I use the weekly and monthly pages, I hope this gives you some fresh ideas and motivation to use your planner more effectively next school year! 


If you are interested in trying out these printable planner pages for yourself you can see all of the available formats (I'm using a modified version of the Dated 5) here in my TPT store! Please let me know in the comments if you have any questions.

Monday, August 7, 2023

Bathroom Makeover

Our downstairs powder room was super boring and inconvenient- completely covered in flat white paint, with nothing but a toilet, sink, and chipped mirror- nowhere to put anything, not even a toilet paper holder. I'm so happy with the changes we made with very little time and money- it is certainly overflowing with personality and has so much more storage now!

This post contains affiliate links

Here's a quick video tour of the space before and after (don't mind the terrible "before" video at the beginning- per usual I was a bad blogger and forgot to take before pictures or video so I had to use what I had):

The first thing, of course, was to give the walls some color. When I saw this removable peel and stick wall paper I knew this was the place to use it- it's a very bold pattern I wouldn't use on a huge wall but for this tiny bathroom it is perfect! And the colors coordinate with the wall color of the dining room/ kitchen that leads to this powder room, so it all flows together really nicely. Plus I already had a few pink bathroom items, like the little corner trashcan and toilet brush, a vase, and some artificial flowers from our the powder room in our old place that had a lot of pink in the wallpaper, so it would fit with those as well! I picked out the light blue color for the rest of the room to match the wallpaper as well, and I love how it all came together. The wallpaper was exactly as hard as I thought it would be- the first piece was a little frustrating to figure out how to put up, but once I did it once the rest was pretty easy.

Next up was getting some storage in there to make the space more usable- not having a toilet paper holder on the wall got really old really fast! I moved the small shelf in from my daughters' old bedroom and used that to hold extra toilet paper, some scented candles, cleaning supplies (in a pink bin at the bottom) and some decorative items that I already had from our old bathroom. Because the room is relatively small I knew I wanted a wall-mounted toilet paper holder that could also store some extra toiletries for guests- this one I got has been perfect and it was pretty easy to assemble and hang!

I was prepared to keep the old mirror, honestly out of laziness more than anything else, but my mom (who helped us paint the walls) talked me into getting something a little more updated, especially since it was getting corroded at the bottom. I tried to look at a couple of hardware stores to pick one up but couldn't find exactly what I needed in stock so I ended up getting this one from Amazon- it arrived in perfect condition and I definitely like the oval shape better than the old rectangular one. This room also desperately needed towel holders! This one that I got has 2 bars but is still pretty compact which is great for this small room.

The pink towels we found at IKEA- I actually took a small piece of the wallpaper to the store so I could make sure the colors matched! And we ended up finding these small artificial potted plants in a set of 3 similar to these on clearance- one of my daughters had first picked them out for her bedroom, but when I saw the price we got a few more and put some in the bathroom too! They're small but I think they make the space feel so much more fancy- my daughters said it looks like a fancy hotel bathroom now :)

The moral of the story is, if you like the idea of a bold pattern or color scheme but you're scared to do it in your house or worried that the next people won't like it... Do it. I smile every time I walk past our bathroom now, and we will definitely be enjoying it for a long time even if we eventually decide to change it for one reason or another.

Monday, July 31, 2023

3 Fridge Organization Items

We're continuing the home organization projects with the fridge today- no, there are no clear stacking bins to color coordinate your produce like all the beautiful fridges I see on social media these days, but I do have a few super practical, inexpensive items I've added to my fridge that have made it so much easier for me to keep everything accessible and easy to find in my refrigerator! 

This post contains affiliate links

1. Turntables

I saw these at IKEA and got so excited- rectangular lazy susans! Why didn't we think of this sooner?!? I've seen people use regular round lazy susans in their fridge to make it easier to reach and see things, but I never liked the way it wasted space in the corners- it's truly a round peg, square hole. But these have the same functionality of regular lazy susans with the added benefit of fitting the rectangular fridge shelves, leaving no empty corners. I know IKEA changes out their items pretty often, so if you can't find them there this one seems to be similar.

2. Hanging Drawers

Not only do these function as, essentially, an additional shelf, but because they are drawers they are perfect for the kinds of things that would normally roll around on a shelf. I usually keep a few rolls in a can on hand, and these drawers fit those perfectly. 

3. Egg Storage

OK this is probably the one thing on this list that is not entirely necessary, but I actually love it for multiple reasons:

  • I can easily grab the eggs I need without having to take out the entire carton
  • I can easily see how many eggs I have left without having to take out the entire carton to check every time I'm making my grocery list
  • It freed up shelf space

Here's a video to show you how each of them works:

They're nothing earth-shattering but they really have made my fridge so much more organized! If you want to see other organization tips and items for the rest of the kitchen, be sure to check out this post:

What do you use to organize your fridge? Let me know in the comments!

Monday, July 24, 2023

Visual Calendar for Preteens

I never thought I would still be using a visual calendar for my daughters when they were this age, but they're now 11 and we're still going strong! Between extracurriculars, parenting schedules of when they're with me or with their dad, and their class rotations at school, there's a lot to keep track of for each of them, and I want them to take part in keeping track of those things for themselves rather than me tracking it for them on a family calendar. I recently updated their magnetic visual calendar to be more tailored to the needs and tastes of my budding preteens- here's what it looks like now (and how we're using it)!

This post contains affiliate links

I completely started over from scratch with their new visual calendar and now it is so much more geared to their needs and tastes! 

  • Changed the scrapbook paper to match their current style/ taste
  • Gave them each their own space for daily schedules
  • Updated the magnets to be more sophisticated
  • Added a space for self-expression

If you aren't familiar, I made a DIY magnetic visual calendar for my daughters 9 years ago (!!) when they were 2 years old. I used an oil drip pan as the "board", used scrapbook paper and stickers to mark off the different sections, and made magnets using these adhesive magnet sheets. In addition to their weekly calendar, I also had a chore chart for them- here's what it first looked like (click on the photo to see the original blog post where I explain in more detail):

When the girls were a little older and starting preschool, I adjusted the chore chart so they each kept track of their own chores they had done, and added a monthly calendar at the bottom (click on the photo for the blog post):


When they started Kindergarten I added magnets for their school classes, swapped their chore chart for dry erase checklists to keep track of homework etc, and added a spot to keep school papers and flyers:


The board pretty much stayed the same after that- I changed some of the magnets for new extracurriculars, but that was about it. It was definitely time for an upgrade! I decided it was time to start over completely- I took off all of the old scrapbook paper and stickers that marked the days, and the checklist papers, and decided to rethink the entire board. 

I wasn't even sure the girls still needed a visual calendar at all, but when I asked them they said they still wanted to have one to keep track of their own schedules. But I did rearrange it so they now each have their own sides for their individual schedules, and I made it dry erase by adding single-sided laminating sheets on top of the paper, since they can read and write now. We picked out scrapbook paper that each of them liked too, to fit each of their styles.


The monthly calendar stayed the same- they still draw their own pictures to add to the top and write in the major upcoming dates on the calendar each month (highly recommend as it has become a super fun tradition to look back at them all around new year's- here's the blog post about our calendar). But I also knew I wanted to add a way to encourage self-expression, have another way for us to communicate when they're hesitant to talk, and also encourage positive self-image. One of my daughters in particular is really into writing and poetry, so I got some poetry magnets to add to the bottom as well:


The pink container at the bottom holds the extra magnets, and I added some dry erase markers there so my daughters can write down things on their schedules. The magnets got a major update as well! The old clipart I had picked out years ago was too childish so we looked at clipart together and decided to go with a watercolor theme for all of their icons. They picked out their own clipart for their activities, and they're now so much prettier!


We're all really happy with this update- it's much more grownup looking and it fits their growing needs perfectly! I am so glad we've been able to use this still, all these years later.

Monday, July 17, 2023

Family Craft Supply Storage

As the mother of two elementary-aged children and a crafter myself, one thing we have a lot of in my house is craft supplies! When we moved to our new house, one of my top priorities was the re-organize our craft supplies in a way that made sense for our family and how we use things, taking into account how much older (and therefore more capable and independent) my daughters are now at 11 years old. I still have more to do to get everything the way we want it, but today I'm sharing my progress so far- I'm really happy with our new setup!

This post contains affiliate links

When we first moved in I was hoping to use our hallway closet- presumably intended to be used for linens- as our centralized craft storage closet. But once I started organizing everything I quickly realized there was no way everything would fit! So I shifted strategies to sort our craft supplies into categories: items only the kids would use, items we would all use, and items only I would use. The common items I kept in the hallway closet, the kids' items I put in the girls' shared play area closet, and my remaining items I'm not quite ready to share yet (mostly my planner stickers and washi tape) in my room. 

The kids' craft storage is actually half of the master bedroom closet. Our new house doesn't have a specific "play room" like we had with our old basement, so we designated the master bedroom to be half one daughter's bedroom and half shared play space. One side of the closet is my daughter's clothes closet, and the other side is now the storage for their toys and craft supplies:


The girls have a lot fewer toys now, so a lot of the bins in the bin organizer now hold craft supplies, and some of the spots in the hanging shoe organizer have additional craft supplies as well. The majority of the supplies, though, are stored in the IKEA bins on the rails that we attached to the back wall of the closet. I cut out pieces of clear contact paper and wrote on them with permanent marker to create simple labels for the bins that we can change out whenever we need:


The hallway closet has a lot of the specific categories or projects that we use together, like sewing tools and fabric, paint and glue, tie-dye, beads and jewelry making tools, and scrapbook paper. For categories (like paint and glue) or specific projects (like tie-dye) I grouped them in clear bins with labels on the front so we can all see what's inside and find what we need. 


As a scrapbooker I have a bit of a paper problem and had an absolutely ridiculous stack of paper pads that were getting bulky and difficult to sort through in the drawer I had them in before- I knew I needed a way to store them vertically to make it easier to look through everything, and I knew I wanted to consolidate everything by color and coordinating sets to make it easier to find what I want rather than flipping through every single paper pad, especially since I had a lot of pads that I had used up a lot of the sheets. These clear paper organizers have been a game changer! For the paper pads that have specific coordinating patterns I like to use together, I took out the remaining pages and put them in a bin together where I can more quickly see the paper inside. For the rest of the paper, I took everything out of the pads and reorganized them by color. It is so much easier to find what I need now, and for the girls to use it as well (this video shows a quick tour around both closet spaces, and a closer look at the paper organizers)!


There will definitely have to be a part 2 to share more of my craft storage- I still have more to do to set up my personal craft supplies in my bedroom/ office space as well- but I'm really happy with how things are coming together so far. Our new setup makes so much more sense for our family and how we use things now! 

Do you have any craft supply organization and storage ideas you love? Which supplies do you find most difficult to organize? Leave your suggestions in the comments below!

Monday, July 10, 2023

Game Cabinet Reorganization

We're continuing our journey to set up and organize my new house and today I just had to show you how I reorganized the cabinet where we keep all of our board and card games! This may seem trivial and inconsequential but it honestly makes me giddy every time I open it- this simple reorganization has made it so much easier for us to see all the games we have without anything getting buried in a pile, and most importantly so much easier to grab the game we want without having to take out 5 other games that are stacked above or around it. So we can get to playing together faster, and never forget about all the cool games we have!

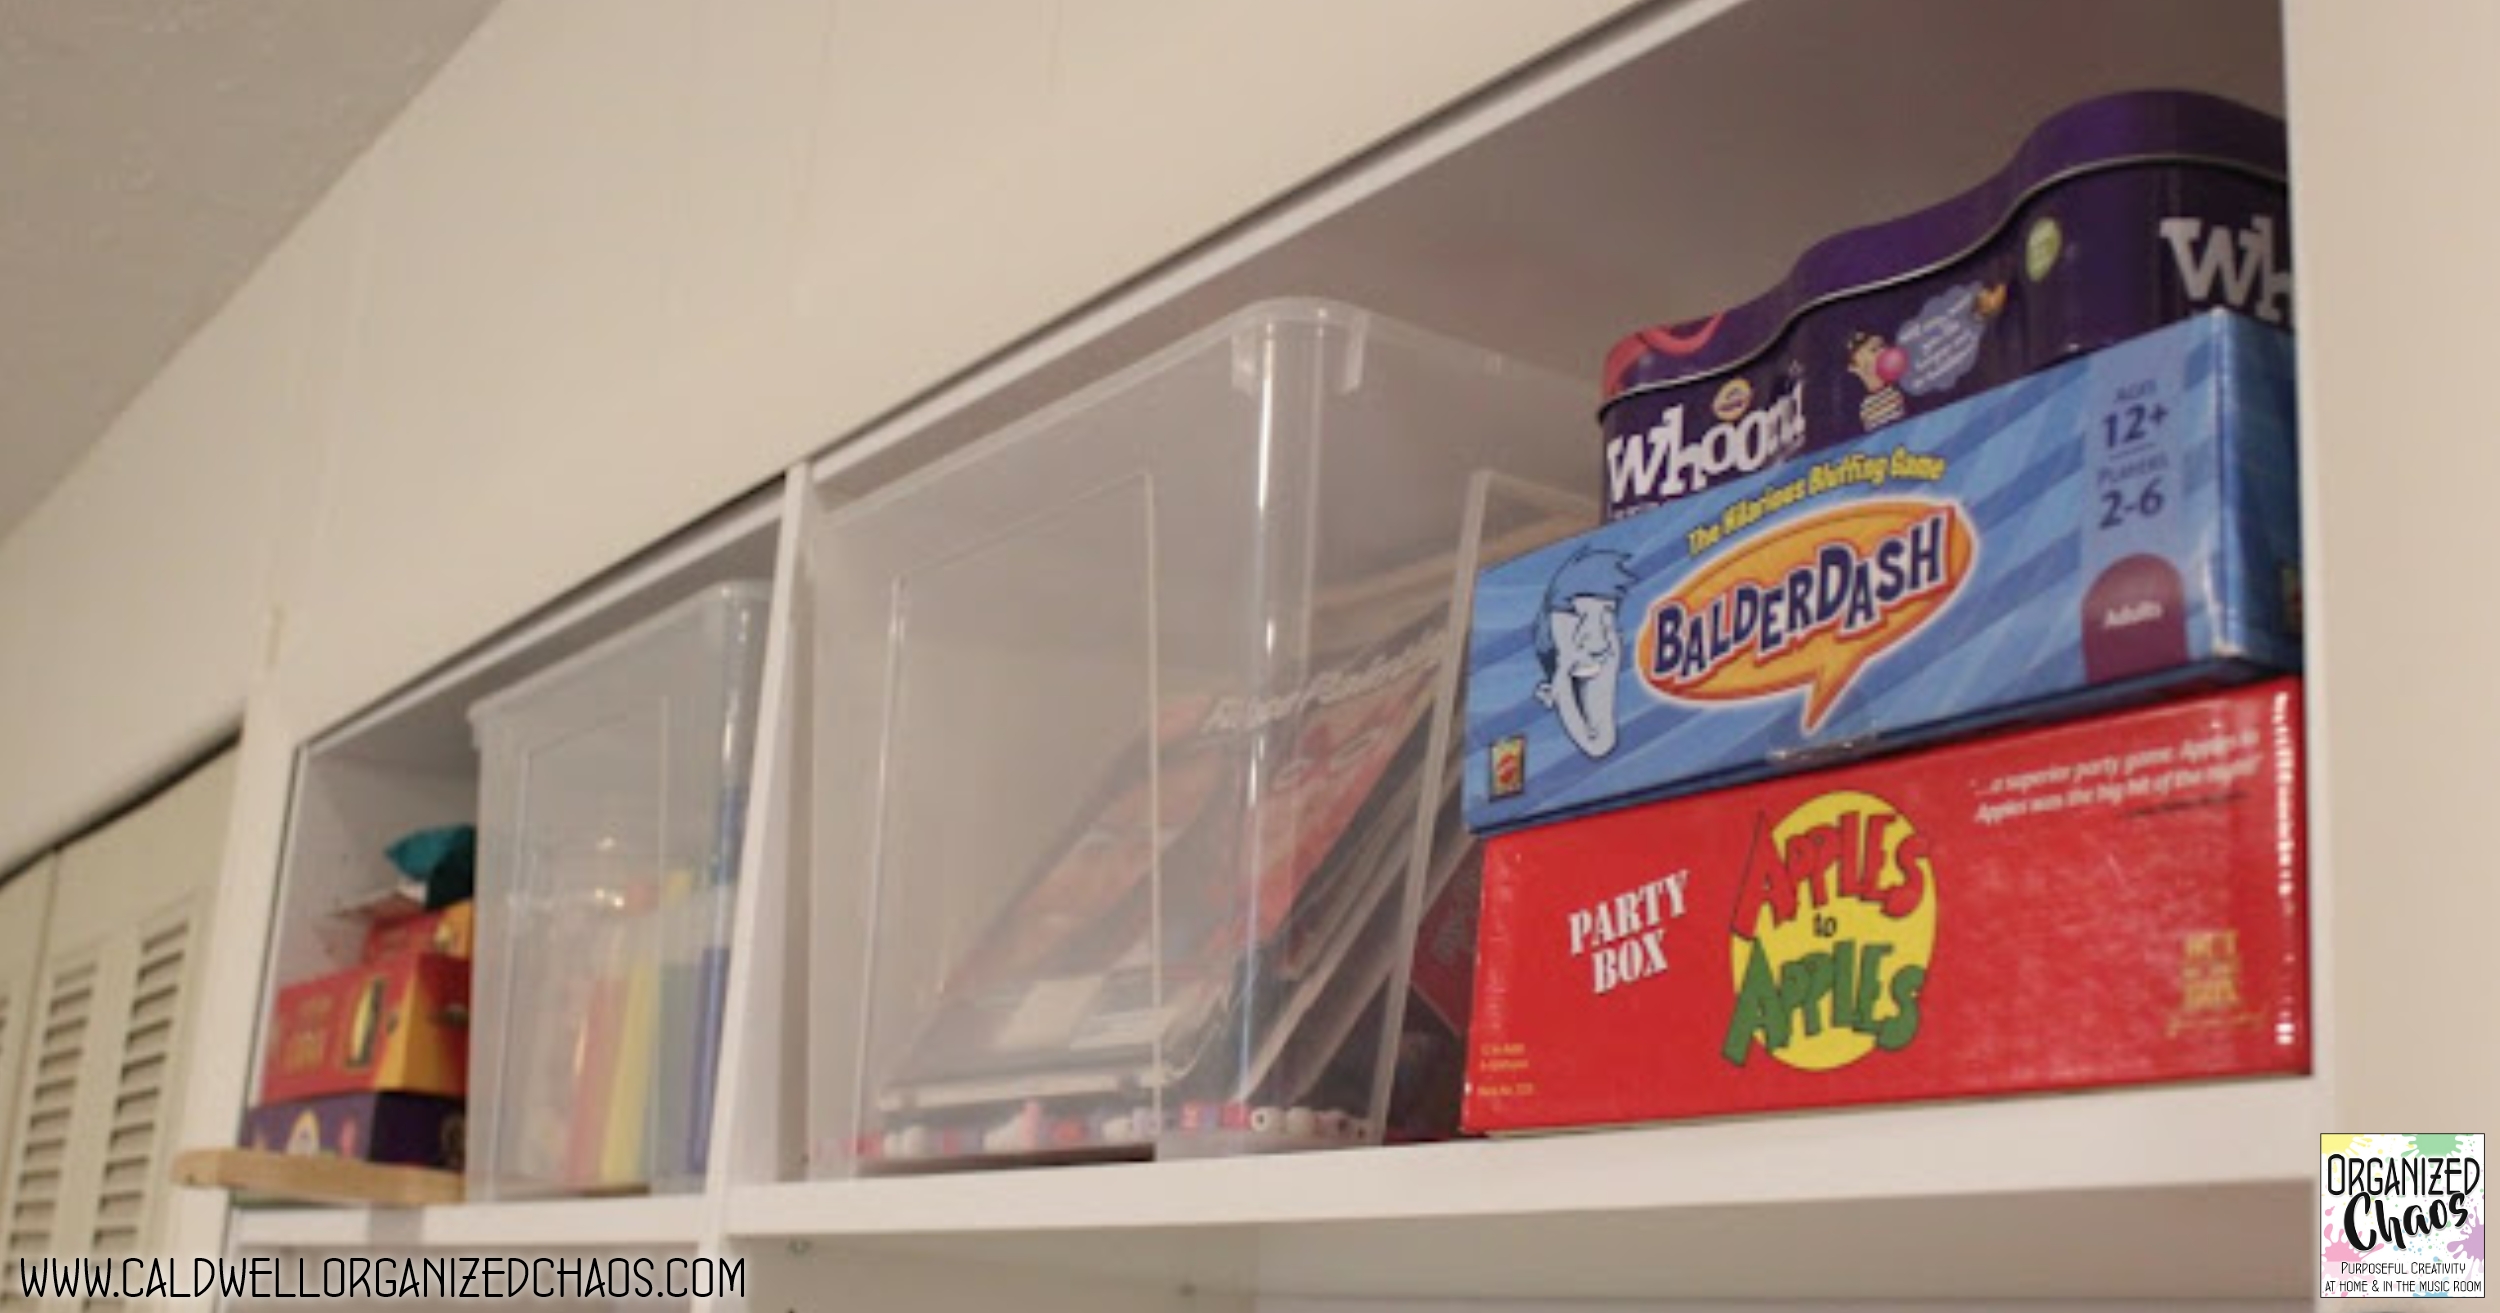
I am a huge fan of games. I grew up playing board games and card games with my family and now I love playing with my own daughters! So over the years we have accumulated a pretty good collection of them. I honestly never gave a second thought to the way we had them sorted- in a few drawers of our china cabinet, and stacked on top of each other on some shelves in the playroom. I wish I had a picture of the drawers because they were honestly terrible, because I was trying to cram in big boxes of board games with decks of cards, little games with little bits and pieces in bags- they were a mess and I honestly forgot about some of the games we had that got shoved in the backs of the drawers until we packed it up to move! Here's a picture of one of the shelves where I had some stacks of games- not the worst thing, but it meant any time I wanted the game on the bottom I had to take out the whole stack:

I'm saying all of this to try to convey just how excited I am about this seemingly small change to this:

Why did it never occur to me before to put the board games on the shelves vertically?!? Now we can see them all, and grab just the one we want without moving all the others, just like books on a bookshelf. There were some games that didn't fit on the shelf vertically because of the shape of the box, so I just moved the first shelf down to the lowest spot and put the next one just above it so there's just enough room to store those bigger boxes horizontally without having to stack multiple games on top of each other- the only exceptions are the ones at the very bottom, but with only a couple of games to slide out from under another box, I'm calling that a massive win!

Storing the board games this way actually took up a lot less space too. When I first put the games in this cabinet those games took up all of that shelf space plus one of the drawers on the other side, but now that I got those out of the drawer, the smaller game pieces and decks of cards can sit in one layer in the drawer where we can see everything and grab what we want from there as well (and I even realized there were several decks of cards and smaller games that I could store vertically in the drawer as well).

All of that reorganizing not only made it easier to find and get everything, but it freed up two entire drawers where I can now keep puzzles and recipe books (this game cabinet is next to the kitchen and living room- it makes sense, trust me). Here's a quick video tour of the whole cabinet so you can see how it all came together:

So the moral of the story is if there's a storage or organization system that you're unquestioningly using that is adding some annoyance to your use of the items being stored, there's probably a way to fix it that will bring great joy to your life without buying or building anything or even requiring much time or effort. At least if a well-organized thing brings you joy like me.

I've actually written about my toy storage systems a number of times over the years (though none of them seem as revolutionary as this one to me at the moment!)- here's what I've used over the years, especially when my daughters were toddlers and preschoolers, if you're interested in seeing what else I've done (click on each photo to visit the blog posts explaining how I set them up):


How do you store your games and kids' toys? Most importantly is there anyone out there who has been holding out on me and never told me I could store my games vertically? Because I would like to have a word. 

Monday, July 3, 2023

New Entryway Tour

One of the first places I got set up in our new house is the entryway! With my teacher bags, my kids' backpacks, purses, keys, mail, and everyone's shoes there's a lot of important stuff that needed a home immediately. I'm so happy with how everything came together and it has made it so much easier to get out the door in the mornings now that our entryway is organized.

This post contains affiliate links

For me the main things I needed a place for in the entryway area were shoes and school bags. Of course I also wanted to have some extra hooks for guests to hang their coats and purses, and a place to drop mail and hang my keys. After living in the space for a few weeks I quickly realized we were actually coming in through the garage more than the front door, so I decided an organizer over the door to hang our shoes would be convenient without cluttering the actual entryway area! Here's the organizer I ended up getting- I love the size and it's very sturdy!

My favorite thing I have purchased for the house so far is this bench. I was looking for storage benches at first so we would have space to keep backpacks and school things, but one of my daughters suggested using baskets instead so that we could each easily pull out our bag without opening the whole bench, and I'm so much happier with this solution! The bench is actually intended to be a dining bench, which makes it very low profile and simple- just what I needed. I can't find the exact baskets I bought at the time on clearance from Michael's, but these are the closest ones I could find in dimensions and look. I highly recommend this idea for a small entryway!

I used to use clear plastic bins for my mail, but that definitely did not fit the rest of the wood items I had in the entryway, so I was thrilled to find this mail sorter with hooks on the side at a thrift store. There are plenty of items like this you can find online like this one, but I do like the way the hooks are on the side on mine, which made it perfect for this spot!


I added this new window film on the front door, since when I moved in there was old crusty stuff that was peeling at the edges and getting pretty yucky. I had some of this left over from a previous project, actually, and the last place I used it in my old house it held up perfectly for years so I'm confident it will last and it's so easy to put up!


The other side of the entry area has a collage picture frame, a planter (that I need to get a plant for), some extra hooks for coats and purses, a small mirror, and a small cork board where we put school fliers when there's something we need to remember. There's also a small shelf where we keep sunscreen, bug spray, lotion, and other little things like that that we tend to need coming in and out of the house. These are all pieces I've collected from yard sales over the years but I've never had them all together in the entryway like this and I'm really happy with the way it all looks:

Now that I've shown you each area, here's a quick tour around the entryway:


What things do you like to have in your entry area to make it easier to get out the door in the mornings? I'd love to hear your thoughts and ideas in the comments! I've found it makes such a big difference when we have all of our things organized in the entry area, so while this may seem like an insignificant part of the house it really makes a huge difference for me!

Monday, June 26, 2023

3 Kitchen Organization Tools and Tips

After moving into my new house recently I've been working in getting everything organized, and the kitchen was definitely a top priority! Today I'm sharing 3 of my favorite organization tools that have made a huge difference in my kitchen organization without breaking the bank (don't miss the last one, it's definitely my current favorite!).

This post contains affiliate links which help support this page


TIP: group like items together

I never had wide drawers in a kitchen like I do in my new one, so this was a new problem for me that required new solutions! To take full advantage of the drawer space I quickly realized I needed a way to divide up the space to keep items from sliding around into one big jumbled mess. Yes, smaller bins can serve a similar function but I like these better for bigger drawers that need bigger sections- these ones I found are adjustable and they were super easy to install (plus they fit my tight teacher budget).


TIP: similar sized containers maximize storage space

I know. I never thought I would be one of "those people" taking spices, or anything else for that matter, out of its original container just to put them in another container... but when my pantry space was at a premium and I was trying to find a way to fit everything in, I realized what a space saver this was. I wish I had the foresight to take a "before" picture but just imagine a typical collection of spice bottles of all different shapes and sizes- I was only able to fit about 2/3 of these into the drawer before I got these, just because they don't fit neatly next to each other when they're all different sizes and shapes. AND having them in a drawer like this has made it so much easier for me (and for my daughters) to find what we're looking for. Before I had some on a pantry shelf and some on a rotating spice rack I bought as a set, and the labels were all different so it took time to read and find what I wanted, especially if it wasn't something I used regularly. So much easier now, and it's a lot easier to see how much I have left of each one when they're all laid flat. For my most-used spices that I buy in bulk sizes, I filled up these smaller bottles to keep within reach and stored the extras on a top shelf so I can refill when needed.


TIP: avoid overcrowding a container to make things more accessible

These are by far the best thing in my kitchen and also the cheapest and easiest to install! I can't recommend them enough. They stick to the bottom of the upper cabinets and spin around so you can see and access any of the 6 hooks. I'm sure I'm not the only one who has always had a vase sitting on the counter holding all of these spoons, spatulas, and whisks- these are always the things I reach for the most when I'm cooking and often am trying to grab quickly after realizing the food was going to burn if I didn't get it out fast! The vase made it hard to find things, especially the ones with shorter handles, and it was completely overcrowded. I had to strategically wedge things in to get them all to fit! Now I can see everything and grab exactly what I need without rearranging the entire container to get to it.

I have more tools and tips to share from my kitchen but this post will get too long if I keep going! Let me know if you're interested in a "part 2" with more favorites, and let me know what other spaces in the house you'd like to see next, in the comments below.