

First of all, there are so many ways you can use these in your home (and I'm already thinking about adding some more in other places!). You could spell out words, like your last name, "family", "love", or other relevant words and phrases, and hang them on the wall. You could label where each person's shoe box is, where each child should hang their backpack, or even label each bedroom by hanging their name or initials on the door. I actually used to use these letters (pre-decoration) to hold the girls' hair clips in the bathroom by hanging a ribbon from the bottom of each and attaching the hair clips to the ribbon. They're so fun, cheap, and easy, and they look great!
So now let's talk about how to make them!
Step 1: buy some letters somewhere.
I got mine on clearance at Babies R Us a few years back, but they also have them at Walmart, JoAnn Fabrics, Michael's, and lots of other places. They usually aren't more than a couple of dollars, and you can often find them on sale like I did for much cheaper.
Step 2: pull out all of your washi!
Now, of course, you could certainly decorate the letters with other things you might have like paint, ribbon, fabric, paper, or markers. But I love the way these letters came out with washi tape! I pulled out every roll that I own and chose every tape that had purple for the L and all of the ones with green for the S. If you are using these to label different family members like I did, color-coding is a great way to make things even easier to see. I've been using those colors for my two girls since before they were born, so I already associate each of them with those colors.

Step 3: lay strips of tape straight across the letters
I left some edges hanging off on either side and put the tape on straight across, each one lined up right above the previous one, until I got to the top. Once I ran out of different tapes I repeated the tapes until I got to the top of the letter. I tried to mix up the multi-colored ones, patterned ones, and plain, solid ones, as well as mixing up the different widths of tape, so it would look more eclectic.

Step 4: cut off the edges with an exacto knife
The final step is to cut the edges of the tape in line with the edges of the letter! Obviously, the S was a lot more difficult than the L. The good news is, if you mess up, it's really easy to take that piece off, put on a new one, and try again! I had to do that a few times but not only is it quick and easy, a small piece of washi is so cheap I don't have to feel like I'm wasting money if that happens.
Step 5: hang or display your creation!
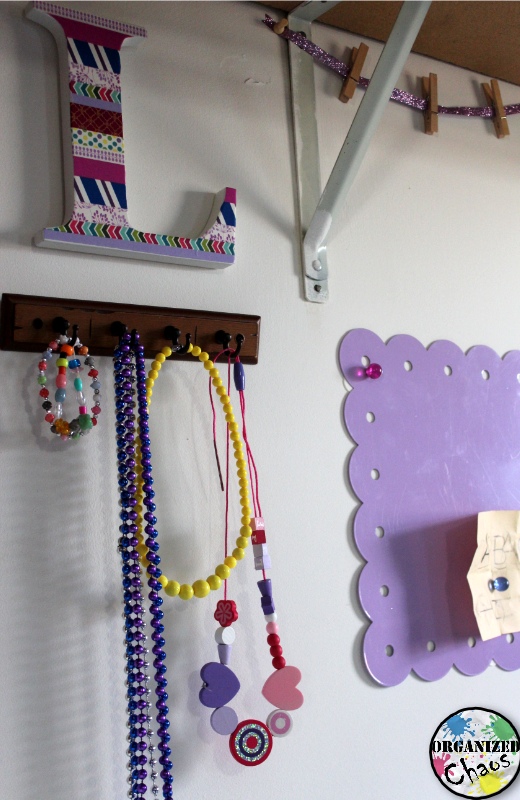
I used command strips to hang mine up, but there are plenty of ways you can display these. Combined with the magnet board, clothespins, and hooks, I think they look pretty cool on the wall! :)
Yet another reason to buy more washi, guys. If you haven't fallen in love with the stuff yet, what are you waiting for?!? Let me know if you have done something like this before, or decide to try it out!
I LOVE washi tape! Totally addicted to it! Those letters turned out really, really cute. :)
ReplyDeleteYay, a fellow washi addict! ;) Thank you for the note.
DeleteMy son has banned me from buying any more washi tape. I have a pretty big basket full. LOL
ReplyDelete