Image Map
Showing posts with label TPT. Show all posts

Tuesday, July 7, 2020

5 Things You Didn't Know About #PlanMyWholeLife Music Teacher Planners

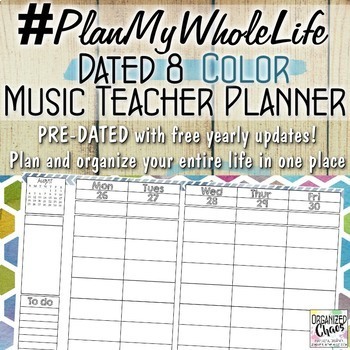
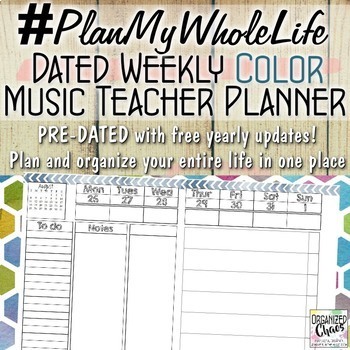
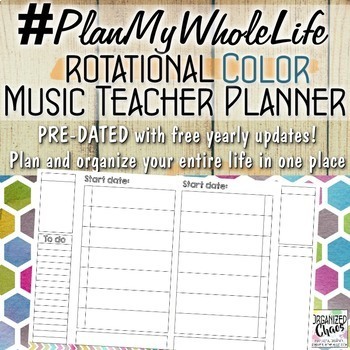
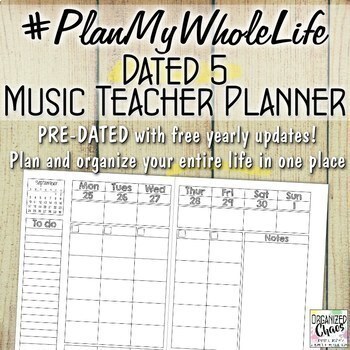
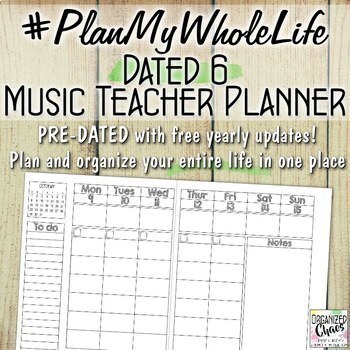
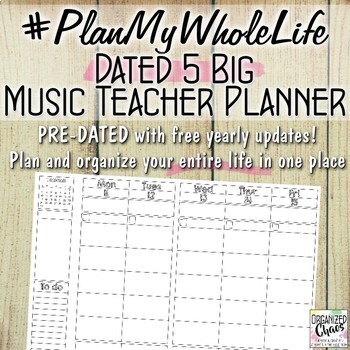
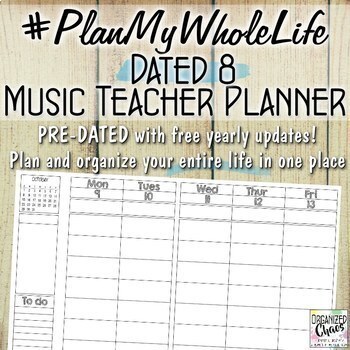
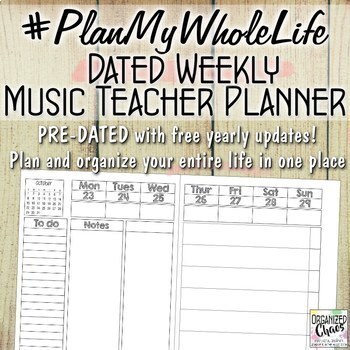
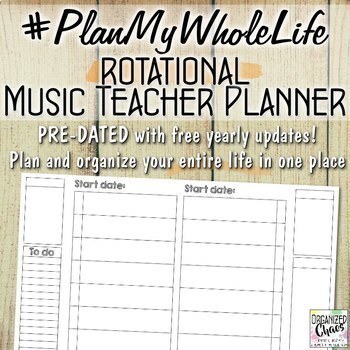
Most Organized Chaos readers will know about the #PlanMyWholeLife planners I use and design for music teachers- if there is one tool I use more than any other to keep my act together it has to be my planner! If you don't know much about them, you can watch this video to get a quick introduction- there are printables with lesson planning formats and organizers for pretty much every music teacher situation you can think of! But whether you're a long-time user or just getting started, here are some things you may not know that just might make you love your planner even more!


1. Flexible undated calendar options

One of the best-kept secrets of the #PlanMyWholeLife planners is the weekly and monthly calendar section in the business planner! There are quite a few different undated calendar templates that are great for when you need something different- I've used a few different weekly calendars for planning over summer break, since obviously there is no lesson planning to do, and I've used the monthly template a couple of times for long-range planning for specific things like concert and holiday prep. 


2. Go digital!

Want to try out digital planning? The great thing about using a printable file like these is you can use it digitally as well! There are several teachers who have used their #PlanMyWholeLife planners exclusively as a digital planner and have loved it! Here's how one teacher set hers up using the rotational planner:


All it takes is saving the file with the pages you want in Keynote, loading it into Goodnotes, and it's ready to use on an iPad with an Apple pencil. Here is a tutorial from KDigitalStudio that shows you how to set up tabs to different sections to make it easier to navigate.

3. Organize everything

Of course there are lesson planning, gradebook, and calendar pages, but I like to organize everything in one place so I can keep track of everything. When you set up your planner, you can choose which pages you want to include in yours: meal planning, private studio organization, concert planning, budget, classroom inventory, address book, PD hours, and so much more. 

Those are all included in every #PlanMyWholeLife planner, but there are also add-on's you can get for holiday planning, summer planning, more monthly and yearly calendar templates, and even teacher quotes. These pages get updated often based on feedback from planner users, which is one more reason to join the...

4. Facebook group

Many planner users don't know that there is a Facebook group just for #PlanMyWholeLife planners! It's a great place to see how other teachers set up and use their planners (like the digital planner above), ask questions (especially when you're setting it up for the first time), share fun planner supplies and decorated pages you create, and get updates on the latest planner news. This is the group I go to when I start creating the new school year's planners each spring to get feedback on any updates they want to see, and I have gotten so many great ideas for new pages to add, cover designs, and more. Click here to join the group. 

5. Free updates every year

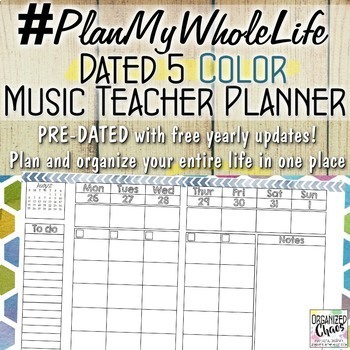
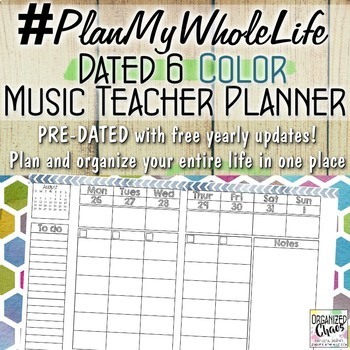
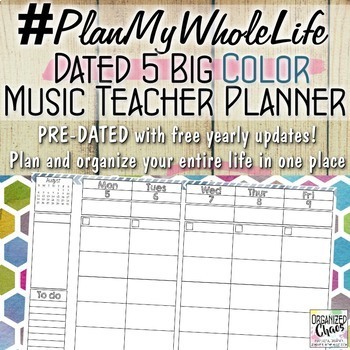
Most teacher planner printables you'll find, for music and non-music teachers alike, are undated- you go through and add in your own dates each year so you can use it any time. The #PlanMyWholeLife planners already have the dates added in so you don't have to do all that typing, copying and pasting, and updating your calendars! But you can still use it any time without buying anything new- just go back to your purchased planner when you're ready for the new year and re-download for free to get the new dates! I often get messages from teachers who are so surprised to find out after their first year that they don't need to buy a new planner. It's true!

Which of these surprised you the most? If you knew them all: you must be a true #PlanMyWholeLife fan! :) Have questions about planners? Leave a comment or send me an email, you will make my day! Want to find more of my planner tips, whether it's printing and binding, decorating, personalizing, or lesson planning? You can see all of my planner-related posts here. Want to check them out for yourself? See all the planners available here.

Tuesday, May 2, 2017

Planner Setup: printing, binding, and organizing

I'm back to talk about planners today and I couldn't be more thrilled! Today we're talking about how to put together your actual planner. If you want to know more about how to get a digital file ready to print, check out yesterday's post. Now that your file is set up exactly the way you want it, it's time to put the actual planner together!!!

*this post contains affiliate links*

1. Printing

The first step is of course to print your pages. In yesterday's post on setting up your file for printing, I talked about how to check your printer settings to make sure it prints properly. Whether you're printing at home yourself or sending it to a printing service, you'll want to check the size and margins, and make sure you're printing double-sided.

You'll also want to print on slightly thicker paper to make the planner pages more durable and keep the ink from bleeding through if you're writing with pen/markers. 24lb to 28lb is a good thickness, like this paper.

I am super excited about my newest home printing discovery this past school year: HP Instant Ink! If you haven't heard of this service, it's a really affordable monthly subscription plan that allows you to print in full-color for a very low cost, and they send you a new ink cartridge whenever they notice your printer's cartridge running low. It's incredibly affordable, so I'm now actually able to print my entire planner at home! Here's a link to get 1 month free if you want to get started. You obviously have to have an HP printer to use the service- I have this one and have loved it so far. 

Of course sending it to a printing service is a great alternative if you don't have good/affordable printing options at home. Until I found this ink program, I always had my planner printed at Staples

2. Binding

There are several great options for binding your planner. If you send it to a printing service, or have a machine at home or at school, you can add a spiral or comb binding. That will work fine if you know you don't need to add or remove pages throughout the year and want an affordable option. Binders are another affordable option- the only downside is that they can get bulky.


I have been using disc binding for many years now and love it. It offers the convenience of being able to add and remove pages without the bulkiness of binders. I have been using the Arc brand of discs from Staples for years, and used this notebook with the discs and clear cover until this year- it holds up very well and is very affordable. This year I upgraded to the Martha Stewart binder, which is also from Staples. It has a hard, thick cover that makes it hold up much better in my purse with all of the heavy use I put it through! It's a bit more of a splurge but worth it for me. I also upgraded to larger discs so that I could keep all of the pages for the entire school year in my planner at once. For any discbound system you'll need a hole punch, and you can use any discbound hole punch pretty much interchangeably- I use this punch from Levenger but you can also find them at Staples, Michaels, and many other places.

3. Organizing

The last step to putting together your planner is organizing everything. The first part of that process is deciding in what order to put your pages together and divide it up into sections. I use these adhesive tabs to mark my sections: curriculum, month, week, school, tpt/blog, and home.


I actually laminated the tabs on one side to make them more durable, so they last all year.

I also mark the week I'm on within my "week" section for easy access with a magnetic clip:


You can see it on the middle of the right edge of the page in the picture above. The ones I got happened to be on clearance at Walmart many years ago, but these from the container store are very similar. 

The other part of organizing your planner is accessories to help you store relevant papers and items that aren't included in your planner. On the inside of the front cover, I have a big secretarial pocket where I keep my monthly lesson plans so I can reference them when I'm lesson planning.


Just inside the front cover, I have a zippered pouch where I store some postage stamps, blank cards, and a pen, in case I need to write a last-minute card (this has saved me on more than one occasion!). I can also throw things in there that I want to refer to later but don't have time to go through right away.

Behind the zippered pocket is my old clear plastic cover, which protects the inside pages from getting dented.


In the back of my planner I have some blank notebook paper (which actually came with the binder) and a folder. The folder is another place to stick things quickly to reference later, and I also keep my choir music there so I have it for rehearsal planning as well.


And of course a pen loop of some kind is a must- I keep a pencil there, actually, mostly because it fits well in the loop to be honest. It is really handy to have it right there whenever I need to jot something down.

My final (and probably favorite) accessory is my dashboard, where I keep my sticky notes. It also serves as a bookmark for the current month, because the top sticks up above the pages.


I made it myself over a year ago and it was quite simple. Here's my tutorial if you want to make one yourself. 

I love my planner more and more every year, and I'm so excited to share it with you! I hope you found some useful new tips to use in your own planner. If you have any questions or ideas, let's hear them in the comments- I love hearing from you! All of the pages shown above are from the #PlanMyWholeLife planner I've been using and designing for years- click here to get the printables yourself.

Get updates, free curriculum resources, and more! Click here to sign up for the Organized Chaos newsletter!

Monday, May 1, 2017

Planner Setup: getting your printables ready to print!

Watch out guys, it's about to get super planner-y up in here this week! :)


It's that time of year when all the new teacher planners come out and everyone starts looking ahead to get organized for next year. Many of you know that I create printable planners designed specifically for music teachers (check them out here). As I start setting up my 2017-2018 planner (squeeee!), I wanted to share how I go about getting the digital file for my planner set up the way I want it so it's ready for printing. It's not as hard as you may think!


If you're just beginning to explore the world of printable planners, I hope this makes them a little less intimidating. Having a file that you can customize yourself makes it so much easier to set up your planner exactly the way you want it, which will in turn make you much more likely to use it to its full potential! If you're ready for the next step, check out my post on printing, binding, and organizing your printed planner.

If you didn't know this about me, I'm a bit planner obsessed :) To see all of my posts on planner topics, including DIY's, resources, supplies, organizational and productivity tips, and more, click here.

Get updates, free curriculum resources, and more! Click here to sign up for the Organized Chaos newsletter!

Sunday, November 27, 2016

November Favorites 2016

The turkey has been eaten, Christmas lights are going up around the neighborhood.... November must be ending! I'm back to chat about some of the things I enjoyed this month, but this month's "favorites" post is special- there's a giveaway involved (and not a lot of time to enter)! Be sure to read to the end for your chance to win some fun stuff, and don't miss one other special announcement...


First let's talk about "a few of my favorite things"!

1. New Christmas planner supplies

I found some super cute Christmas sticky notes and washi tape on sale a couple of weeks ago and was so excited! I can't wait to use them next month (sorry I didn't get a picture of the washi tape- I'll share on Instagram soon!):


2. My 5th and 6th grade chorus

Is it weird to say one of the ensembles I conduct is a "favorite"? I teach 2 choral groups: a 3rd/4th grade chorus and a 5th/6th grade chorus. This year my 5th and 6th grade chorus has been blowing my mind every week and I just can't stand it. I literally thank them at the end of every rehearsal. They're singing in 3-part harmony at one point and I could just cry. I can't wait for the concert in a few weeks (seriously)! I always enjoy my chorus groups but for some reason I have just been amazed with what this group has done this year.

3. Ramen

Yes, ramen. Yes, the "instant" kind. I found these packages of spicy ramen at my grocery store recently and it has been my go-to meal when I'm sick and tired (which has been basically this whole month). Don't judge me- remember I've spent most of my life in East Asia. It's comfort food! If you want to see how I fancy up my ramen, be sure to read my post tomorrow..... :)

4. Blog posts

I found some awesome music education blog posts this month! If you aren't already, follow my page on Facebook. I share my favorite blog posts every Friday. Click on the pictures below to see each post- they really are worth the read!


thanksgiving1

Taking Care of Your Voice: Elementary Music Edition, Vocal health tips for the music teacher

And now for the giveaway!!!

I'm giving away some of my favorite Christmas sticky notes from Target, some red and green pens, and a $10 TPT gift card! Why the gift card? Because TeachersPayTeachers is having a site-wide sale Monday, November 28th, and Tuesday, November 29th! Everything in my store will be 28% off with the code CYBER2016 !!


This will be a quick giveaway so that the winner can use their gift card in the sale ;) The giveaway will close at midnight EST, Monday the 28th, and I will email the gift card code to the winner on Tuesday morning bright and early. There are a few ways to enter- the more times you enter, the better your chances will be! If you are subscribed to my newsletter, be sure to use your secret code that I sent just for you for an extra entry (and if you're not, make sure you subscribe right here so you don't miss any more goodness)!

a Rafflecopter giveaway

Tuesday, November 8, 2016

My Favorite Thanksgiving Music Lessons

November is here and for U.S. Americans that means Thanksgiving is coming! For music teachers this time of year often gets swallowed up with winter holiday music, as we get our students ready for their performances, but sometimes it's nice to throw in a turkey song or two to keep ourselves from losing our minds! Here are a few Thanksgiving-related music lessons I like to use in my elementary general music classes.


To be honest, I don't incorporate seasonal / holiday-related material in my music lessons as often as many of my colleagues. I'm more focused on skills and concepts that I want to teach, and if I happen to have seasonal material that will teach those skills, great, if not, oh well (read about how I plan by skill/concept in this blog post, and get my K-6 lesson plans for November here). With that said, I have come across a few Thanksgiving songs that I have enjoyed using with my younger students especially (and fit in with the skills I want to teach) that I wanted to highlight today.

1. Gobble Gobble

This is a great song for practicing steady beat and sol-mi singing and notation. I have students sing the song while walking around like a turkey (interpret that as bizarrely or literally as you want!) on the steady beat. I also use it to discuss the higher and lower notes in the song, identify them as sol and mi, and practice singing parts of the song on solfege and/or using Curwen hand signs. My first graders notate the first line on the staff using manipulatives (see this post for what I use)- it's a great way to practice notation since it has an easily identifiable melodic pattern. Find the song here.

2. Five Little Turkeys

This is a great one for Kindergarten classes with hesitant singers / generally shy performers. First we all sing the song together with hand motions, then I sing the song and have the students all sing just the parts that the turkeys say together. Once they know the song really well, I pick 5 students to stand in a line and assign them each to one turkey part, and they say their "line" by themselves, with the 5 of them singing the last line together. I start with the class clowns and make sure to get the silliest kid to be the one that says "I wanna get fat" and really ham it up- once we're all laughing the other students are much more likely to do their own part. I find this is a good time of year to try to push those shy students a little- they've had enough time to get comfortable with me and with their classmates, but it hasn't been long enough to build up anxiety about performing. Hear a recording of the song here.

3. Native American music

I actually do the majority of my Native American music in the spring as a focused study of Native American music/culture with Kindergarten, but this is a great time of year to incorporate some of these songs as well. I wrote a whole blog post on my favorite songs and activities to use with Native American music- you can find that post here.

4. Sub/Filler activities

This time of year can get crazy for music teachers with extra rehearsals, sickness, random days off, and general holiday antsiness. If you're looking for Thanksgiving activities to use more as sub lessons or "filler" lessons (that still reinforce music skills and concepts) leading up to the holiday (we all have those days!), my friends on TeachersPayTeachers have some great ones (I promise, none of these people asked me to mention these, or even know I'm mentioning them- I know and trust these teachers and I picked out the activities that are easy to implement with a sub and/or with little prep):


What are your favorite Thanksgiving songs and activities to use in your music classes? Or do you even bother teaching anything Thanksgiving-related? I'd love to hear what you do in the comments below! You can see all of my lesson plans and get all of the materials to teach them in my November curriculum.

Want more? Subscribe right here to the Organized Chaos newsletter and get ideas and resources sent straight to your inbox!

Tuesday, August 30, 2016

Classroom Tour: 2016-2017

It's that time of year again! I started classes with students yesterday, so I wanted to share my classroom setup for this year with you. Many things are the same as last year, but I've made some changes as well. It's not quite done yet, but that's OK- it's ready enough for my students and I to make music, and so far they are loving the space!


First here's a quick video tour to give you the "lay of the land":


So now let's go around the room the same way I did in the video so I can point out a few things! :)


My open shelving FINALLY got the facelift they deserved. I fell in love with the rainbow patterned contact paper in the dollar spot at Target and bought them out of every roll they had. It still didn't get me enough to cover every shelf, but I was able to cover all of the eye-level ones that have instruments. Last year I had different colored table cloths on each shelf (which worked fine but if any sharp object got scraped across it, it was toast) and I loved being able to direct students to a particular shelf by saying, "the yellow shelf on the right", or "the blue shelf on the bottom". So I added some of my trusty colored duct tape to the front of each shelf, and now I have the best of both worlds! Actually having the color on the front makes it even easier to see the colors, so this is even better :)

I also added lots of new posters this year that I made myself, including the two big ones above the open shelving. The one on the left says "walk around the instruments" and the right one says "If you play before I say you'll make the instrument go away" (you can find the complete set of rainbow colored, tribal / bohemian patterned music class posters that I made here).


Just to the right of my door is my behavior management / student jobs board. You can read about all of my behavior management systems, including the piano keys and the classroom jobs, in this post. If you have keen observation skills and a sharp memory, you'll see that I replaced one of the jobs with a new one. More on that in a future post after I see how it goes ;) I also added a couple of charts to help me track how many incentives each class has earned and when the students switch jobs. I used to keep track of that on my seating charts, but I had a hard time keeping up with everything on my own, so I'm posting it on my wall so the students can keep me accountable (as I know they will!).

The wall next to the board is blank. I used to have a large table with my computers there, but I moved it to make room for something new and exciting.... but it's not ready yet! I'll share once it's done :)


Continuing around the room, I have my objectives for each grade, my piano (with concert programs and artwork students give me posted above), my reading nook, and the main teaching area with my new SmartBoard! The rainbow border framing the bulletin board is another Dollar Spot find, and almost all of the posters in the picture are a part of the new rainbow tribal set I made. I love them so much! 


The posters you can barely see in the previous photo, to the right of the board, are anchor charts showing the elements of music. I go back and forth on whether I should have information like this posted or if I should expect students to memorize/learn as they go without the visual reminders, but I've decided it is helpful to have, so I've put them front and center where students can reference it whenever they want! If I am having a particular grade practice a particular set of vocabulary, I will cover up that information to see if they are actually learning it.

Next to that is my small teacher desk. If you missed it, I gave a video tour of my desk a couple of weeks ago. Here's the blog post with the video included:


Next to my desk I've put a lot of the student supplies in caddies, sorted by the color teams I use for seating, on the window sill. I'm a little worried that they are going to get knocked off, but we're going to try it and see how it goes- I like the idea of having everything close by. I've put the pencils (with color-coded duct tape on each one) and dry erase markers in each caddy already, and I'm leaving the big section open to put any other supplies students may need for class that day. They certainly do add a lot of pretty color to that side of the room! The caddies are, you guessed it, also from the Dollar Spot.


The big change that happened in my room (and actually the whole building) this summer was new flooring! Now that I have new carpet, I really can't justify sticking yucky duct tape down on the floor to mark my rows of chairs and circle spots like I did in the past. I did a lot of research this summer, reading reviews online and even testing strips on the edge of the carpet, and finally settled on this gaffer's tape. It definitely doesn't leave any residue, the colors are great, and it seems to hold well, I have yet to find out how well it holds up to having chairs dragged across it, students picking at it, and all the other abuse floor tape takes in my room. Only time will tell!


I used the same tape for my circle (which I was standing on in the video and forgot to show you!):


The back wall of my classroom is mostly the same, except that I moved the large table with the student computers to the back wall and got a new stand rack (yay!) to hold most of the music stands behind the chairs.


The only parts of my classroom you haven't seen yet are the outside of my room. The wall just outside my door, which is actually in a very small alcove off of the main hallway, has the same music advocacy posters that I made a few years ago:


Outside the second door, which leads to the main hallway, I have my new welcome banner:


I have gotten so many compliments on it already! I just tacked up some string and hung each letter with a clothespin. Hopefully nobody will try to take them down.... In the background of the picture you can see through the two doors into the back of my classroom where I have my boomwhackers velcroed to my closet doors- I got two more sets this year so I added a 3rd row to the top of the doors!

That officially completes my classroom tour- I hope you've enjoyed this post! I'm so happy with my room this year and I've loved seeing the students' reactions as they come in the room. I'll be sure to update you once the rest of the projects are complete!

Want more? Subscribe here to the Organized Chaos newsletter and get more ideas and resources for music teachers sent straight to your inbox!

I'm also linking up with Mrs. King, who is hosting a link-up with lots of other music classroom tours. Go check out her post to see lots of other awesome music rooms!

Music classroom set up and decorating ideas galore! Check out this article for ideas for decorations, bulletin boards, classroom organization, music class management, room set up strategies and more.  It is definitely more than just pictures of music classrooms and bulletin boards.  It is inspiration!

Thursday, July 14, 2016

Blogiversary: Time Management Tips and a Newsletter!

I published my first blog post 2 years ago. It's hard to believe it has been so long! I have published 295 blog posts: 104 Mommy Monday posts, 105 Teacher Tuesday posts, and a few others thrown in for good measure. I started my blog as a way to keep myself occupied with something creative and productive when my daughters started having overnight visits with their dad, and now, two years later, I absolutely love it and have no plans of stopping.

Today I wanted to celebrate this milestone in two ways: by sharing some of my top time management tips for how I "get it all done", and by launching a new and improved way to stay in touch with my newsletter! No party would be complete without friends, so I've got my best blogging buddy Jennifer from The Yellow Brick Road sharing her tips and launching her own newsletter as well! Stay tuned to the end of the post to learn more about the newsletter launch and see Jennifer's post.

But first, let's talk time management!


Find Intrinsic Motivation

The #1 reason I am able to add blogging to the long list of other responsibilities I have in my life is because I love doing it. It gives me a creative outlet, and allows me to reflect on my successes and efforts in all different parts of my life. Being and single parent and an elementary music teacher are both pretty isolating positions- in both cases I am mostly my own team. Having a way to share my thoughts and ideas is so helpful for keeping me motivated at home and at school. And hearing from other people in similar situations, whether through blog comments, emails, or on social media, helps me remember that I'm not alone. Whatever recurring task you are trying to add to your life, it's important to find a motivator whenever you can. If you aren't motivated to do something, you probably will find a way to not do it! Like my motivation to clean my house- can somebody help me out with that one please?

Set a Schedule

One of the best things I ever did for myself when I started blogging was to commit to a weekly schedule of blog posts (my "Mommy Mondays" for home/parenting posts and "Teacher Tuesdays" for music education posts). I work best this way with anything I am trying to add to my tasks- when I realized I was having trouble remembering to clean the toilets, I made a weekly cleaning schedule and assigned a couple of small tasks to each day. Whatever it is that I'm trying to get done, I always do best when I figure out a schedule that is reasonable and try to stick to it. Whatever it is that you're trying to get done, figure out the schedule that works best- for monthly tasks it might be the first Saturday of each month, for weekly tasks it might be every Tuesday- and commit to it!

Make Your Commitment Known

By publically declaring my schedule on my blog and committing to a Mommy Monday and Teacher Tuesday post each week, I made myself accountable to actually following through- it would be a lot less embarrassing to miss a post if I never said when and how often I was going to write. Whatever schedule you decide to set for your tasks, tell others about your plans to help hold yourself accountable. Write your schedule down and post it on the fridge, write about your plans on social media, or just tell your family what your new schedule will be and ask them to follow up with you.

Find Your Rhythm

This may seem a lot like the first one but it's different, I promise. Once I set a schedule for when I was going to have certain posts written by- my deadlines- I needed to find time to actually write the posts- my rhythm. There are a lot of different styles amongst bloggers on this one: some sit down, write a post, and publish it immediately, others work on posts in small increments here and there and publish when they're done. I have found my best routine is to write my posts in one sitting, for the most part, but write them enough in advance to give myself time to edit and generally ponder before I publish. My general "rhythm" for blogging is to write my two main posts on the weekend, and set up any other posts (like the Fermata Fridays linky I've been doing this past year) during the week. During the week I also share my blog posts on social media. I've found this is a manageable routine for me. With any recurring task I need to add to my life, it's important for me to find a manageable way to get it done.

Here's an example of how a typical week goes (during the school year):

Monday/Wednesday/Friday: wake up early to work on social media posts for the day, get the girls ready for school, teach, pick the girls up from school, cook dinner, hang out for a bit, go to bed.
Tuesday/Thursday: same, but the girls go visit their dad after school so I run errands after school. I also schedule any appointments and staff meetings on those afternoon/evenings. pick up the girls after dinner and go straight to bed.
Saturday: if the girls are with their dad, I get the majority of my work on my blog/store. I also try to spend some intentional time with family/friends :) if the girls are with me, I give my full attention to spending quality time with them :)
Sunday: most of my morning is spent at church, then meal planning and grocery shopping in the afternoon, finish any blog posts that aren't done for the following week.

Write It Down

Hopefully it comes as no surprise to my readers that this is one of my top tips for staying organized! My planner helps me make sure I'm not double (or triple) booking myself, and helps me remember from day to day the most important tasks that I need to get done. There is no way to keep track of all this stuff without recording it somewhere! I know some people are able to keep track of everything digitally, but I think for most people physically writing it out is much more effective in helping you remember things and making sure you are recording the information correctly. I can't tell you how many times other people have missed appointments because they accidentally hit the wrong button when they were putting it into their digital calendar, or they put it into their phone and then forgot about it because they didn't look at their calendar! I'm a firm believer in the power of pen and paper :)

I hope you found these tips helpful, whether you're interested in my thoughts on blogging or just time management in general. I've always been hesitant to talk about my life as a blogger on my blog- it feels a bit like explaining how a hotdog is made to someone eating a hot dog (not that my blog is unhealthy for you.... you know what I mean)! If you'd like to hear more about my bloggy self, whether that means practical tips, advice, or general musings and reflections, please let me know in the comments.


Now onto the second part of this celebration: the launch of my newsletter! I am so excited to be starting this today, and I hope you will sign up to be added to my mailing list! Here's what you can expect when you sign up:

*A monthly newsletter sent to your inbox that includes some general musings on life, highlights a few blog and social media posts from the past month, and shares some timely resources from my shop.
*An exclusive free file every month (with each newsletter) with a basic outline of the lessons I will be teaching in my K-6th grade general music classes.
*Alerts of any major news, sales, and promotions (I usually have about 6 in a year- these will mostly be included in the monthly newsletter or sent separately so you don't miss anything!).

Signing up is easy. Once you enter your email address below, you will be prompted to confirm your email address. Make sure to confirm your email address so that you're added to the mailing list! You may want to check your junk mail folder (or your "promotions" inbox in gmail) if you don't receive my newsletter. The first one will be sent out on July 23, and you should receive one each month after that. If it doesn't go to your regular inbox, you may want to adjust your email settings so that you don't miss future mailings!

Click here to sign up for the Organized Chaos newsletter!

I hope you enjoy reading and connecting on a more personal level, and I hope you'll interact with me as well- I really do enjoy hearing from you! You'll find all of my contact information in the newsletter (and you can find that information at the top of the blog as well).

Don't forget to go check out Jennifer's post too- she is also sharing her time management tips as a full-time blogger / teacher author and she's launching her newsletter today too, which I know you'll want to sign up for as well!

Tuesday, May 31, 2016

Planner Tour 2016-2017

I'm so excited to be sharing my new 2016-2017 teacher planner with you! If you missed it, check out yesterday's post on my planner setup. Today's post is a tour of the insides! And be sure to read all the way to the end for an awesome giveaway!


A lot of things are the same as last year, but I've made quite a few changes to actually slim down the number of pages! Let me know what you think in the comments below :)


If you're interested, click here to see all of the planners in my store.

Want more? Subscribe here to the Organized Chaos newsletter and get music teacher ideas and resources sent straight to your inbox!

*Update: this post was featured on the TeachersPayTeachers blog as well- click here to see the post!

And now it's time for a giveaway! This is a MASSIVE giveaway- I'm so excited for the winners! I would enter it myself if I could! :P There will be three winners: 

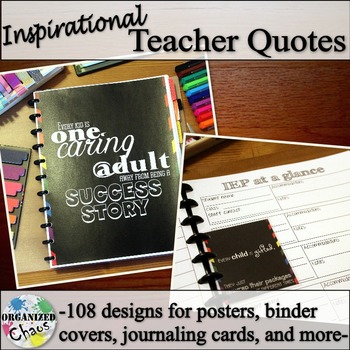
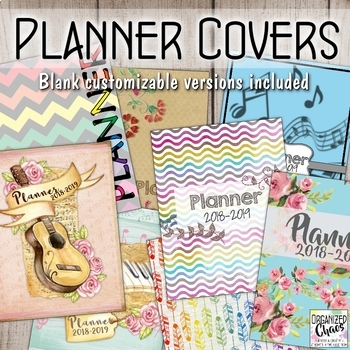
3rd prize is your choice of one of my planner "extras": summer organizer, holidays organizer, inspirational quotes printables, covers and spines set, or perpetual calendar templates. Click on the pictures to see each one:

      Summer Organizer- reflection, goal setting, and vacation planning Holidays Planner Kit Inspirational Teacher Quotes: posters, binder covers, jour

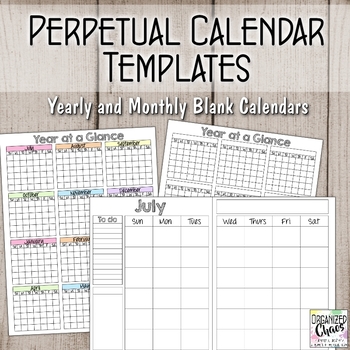
                              Binder and Planner Covers and Spine Labels Perpetual Calendar Templates: year-at-a-glace and two-page

2nd prize is an Entire Life Planner in the format of your choice. And guess what? I now have ink-friendly AND full-color options for each of the six lesson planning formats! 

      Music Teacher Entire Life Planner and Organization Binder: Music Teacher Entire Life Planner and Organization Binder: Music Teacher Entire Life Planner and Organization Binder:

      Music Teacher Entire Life Planner and Organization Binder: Music Teacher Entire Life Planner and Organization Binder: Music Teacher Entire Life Planner and Organization Binder:

      Music Teacher Entire Life Planner and Organization Binder: Music Teacher Entire Life Planner and Organization Binder: Music Teacher Entire Life Planner and Organization Binder:

      Music Teacher Entire Life Planner and Organization Binder: Music Teacher Entire Life Planner and Organization Binder: Music Teacher Entire Life Planner and Organization Binder:

And the 1st prize is your choice of one of the Entire Life Planners listed above, PLUS all of these goodies:


This is seriously everything you need to set up your planner exactly like mine! There is an Arc notebook, folder, discbound hole punch, a single-sided laminating sheet and a laminating pouch, Arc zippered pouch, paper tabs (4 each of 12 colors), adhesive pockets (I didn't use these this year but I did the last two years- see last year's setup post for how I used them), adhesive pen loop, 3 magnetic clips, 4 spiral paper clips, Avery label stickers (I make my own planner stickers with these- see this post for details), flag and quote stickers, sticky notes, page flags, a small notepad, washi tape (samples of 19 different kinds), wet erase marker, Sharpie pen (for writing on washi tape), and 3 of the most awesome erasable pens ever. Guys, this is HUGE! 

Enter as many times as you like below (each option is a separate entry). The giveaway is open for 2 weeks until June 14th. Good luck!